Wheel Refurbishment
The issue in picture format:
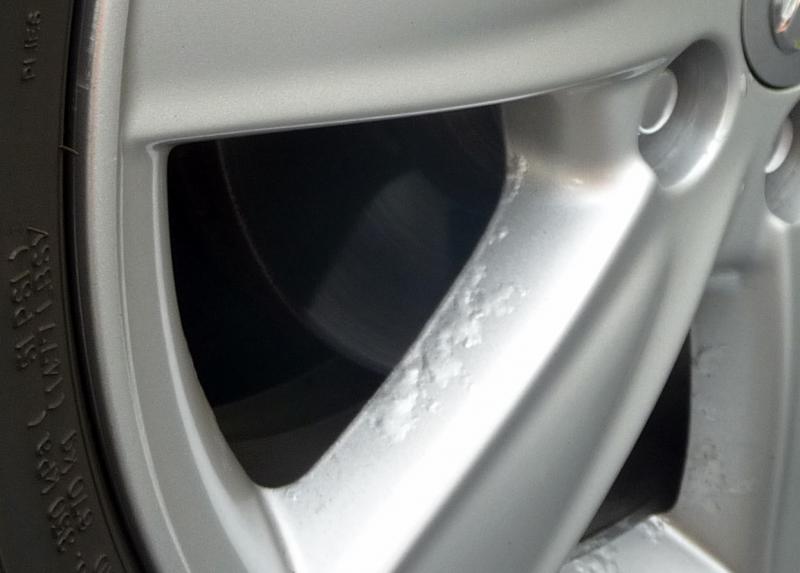
This case relates to a 2008 Lexus GS300.
From what I've read on various forums, it seems to be fairly common that the wheels on the 3rd Gen GS
(and also other models such as the IS) suffer from cases of corrosion.
This was something which my own 2008 GS300 unfortunately also was a victim of.
Being in the scenario that my tires would require changing in maybe a couple of years,
I wanted to fix this with two primary parameters in mind:
- Not too expensive since the tires (and then maybe also wheels) would require changing in some time anyway.
- Not something I wanted to spend weeks on doing. I could spend a day fixing this but not much more.
So here is my refurbishing journey, hopefully helpful for someone in the same or similar situation as myself.
What you need in terms of material to accomplish what I did:
- Cleaning material to ensure the wheels are completly clean before painting.
I used denatured ethanol. - Primer paint. (I used 2 spray cans)
- Wheel spray paint (I used 3 spray cans)
- Clear coat spray (I used 1 can)
- Sanding material (60-240 paper for the really tough parts)
- Wet-sanding material (400-1200 paper. I used 800)
Picture of the paint products I used:

(Hagman / Auto-K primer) (Auto-K Wheel Spray Titan Silver) (Auto-K Wheel Spray Clear Laquer)
Step 1:
Get the wheels of the car

Step 2:
Get the wheels to a comfortable place and start sanding the corrosion away. The more time you spend doing this the better the end-result will be. However, this is also the (in my opinion) most boring and most labour-intensive step. I used a Fein Multimaster to assist me with this step:
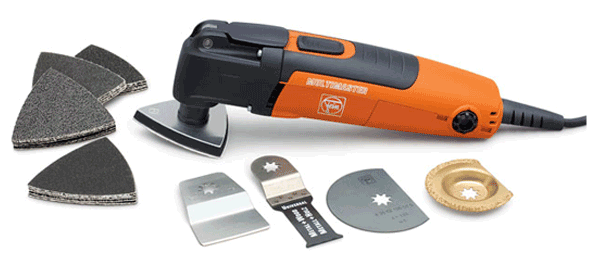
With this tool I removed the worst parts of the corrosion with a 120 grit paper, and then finished
off by hand-sanding with 120 grit and 240 grit paper.
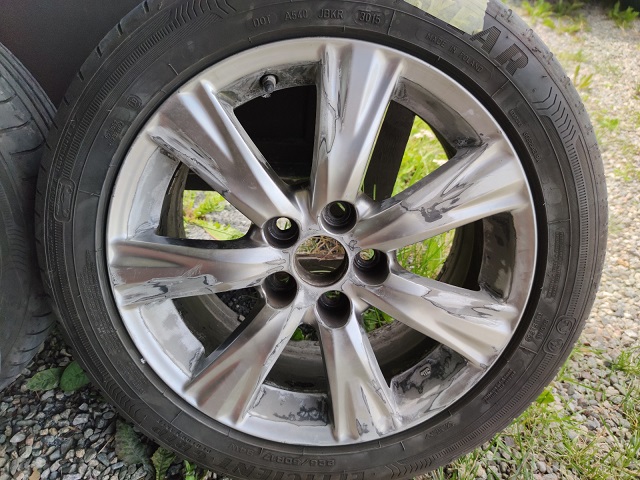
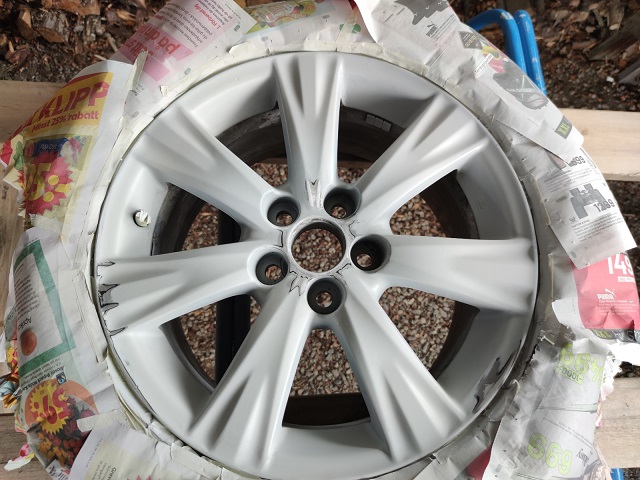
This is how one of the wheels looked after performing this step:
Step 3:
Apply the primer paint. Do this by applying several coats of thin paint layers.
Step 4:
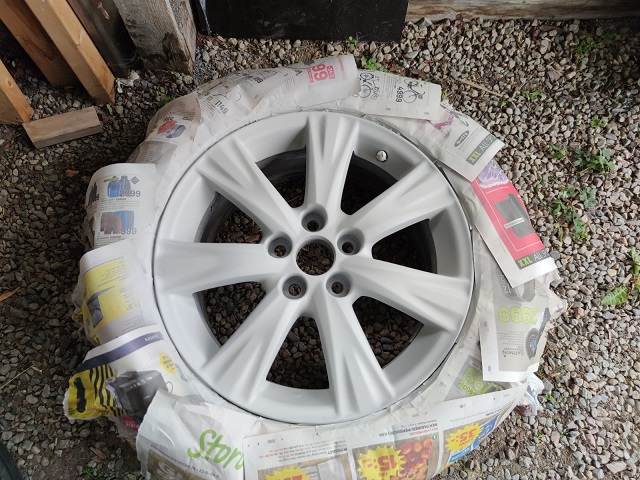
Allow the primer to dry. After this, the spots requiring more sanding will be clearly visible. This is now solved by wet-sanding. The same wheel after performing this step:
Step 5:
Start applying the base coats, by still doing thin layers and then several coats.
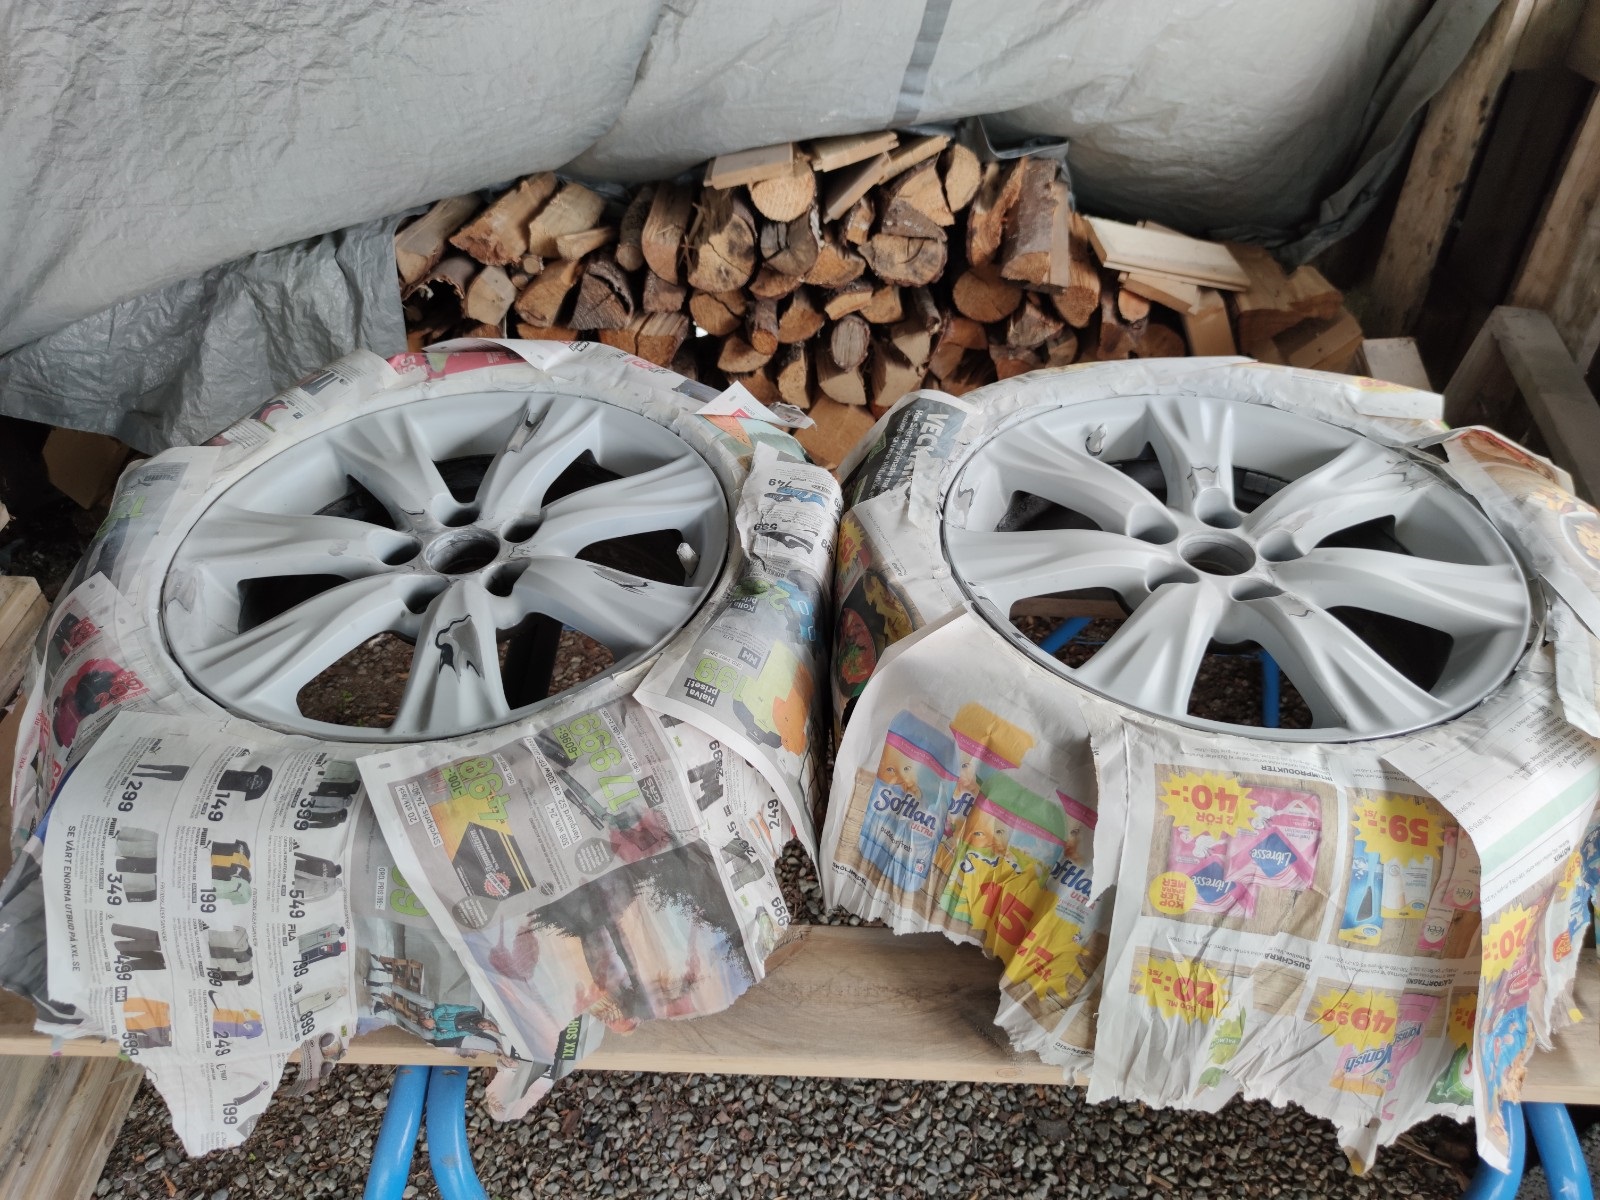
(To the left is a wheel with base coat applied, to the right one with only primer applied)
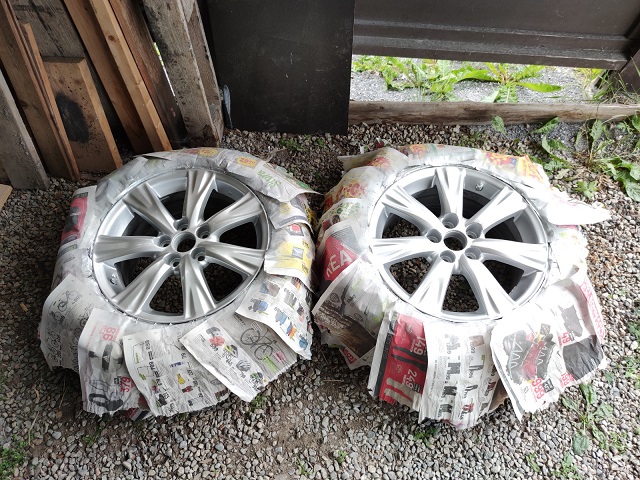
Step 6:
Apply the clear coat. Same as before - thin layers and multiple coats.
Step 7:
Allow the wheels to dry (overnight preferably)
Step 8:
Put the wheels back on and hopefully enjoy the result of your hard work.
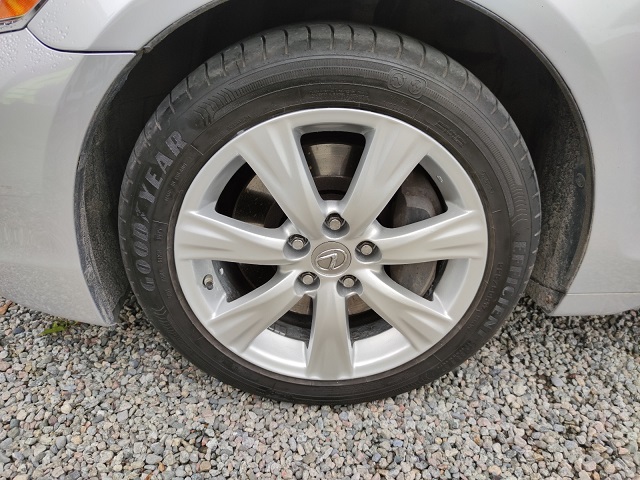
The actual result actually looks better than the picture above tells. The end-result looks a lot more "popping" and more silver in terms of the color of the wheel than what the picture shows.
So all in all - were my parameters initially set up (cost & time) met?
- Cost -> Total cost was about 70£ (800SEK), including cost of paint and sanding material
- Time -> It took me about a day to perform the steps mentioned above. I started Saturday morning and put the wheels back on Sunday morning (they dried overnight). I cut a lot of time waiting for the paint to dry by working on the wheels sequentially. When one wheel had its base coat drying, one had the primer drying, one was being wet-sanded and one was being initial-sanded for instance.
Hopefully this helps anyone curious if this is a DIY-job or not. Since I did not remove the tires, and did not sink the wheels into acid totally removing the corrosion it will probably eventually come back. However, spending one day to give me ease of mind not having to look at the horrible state of the wheels was enough reason for me to do it.