Headlight Condensation Issues
A fairly common issue on several car models is to have the headlights "fog up" with condensation.
If it's just temporarily it might not even be a problem at all, since some condensation usually is to be expected
if driving in very wet conditions or using a car wash for instance. This condensation should then gradually vanish.
However, if the condensation never goes away there is a high probabilty of an error in the headlight ventilation,
possibly due to a defective seal in the headlight housing. Below are three examples of how to combat this issue,
using a 2008 Lexus GS300 as an example. The passenger side headlight has a common issue regarding headlight
condensation on third generation Lexus GS.
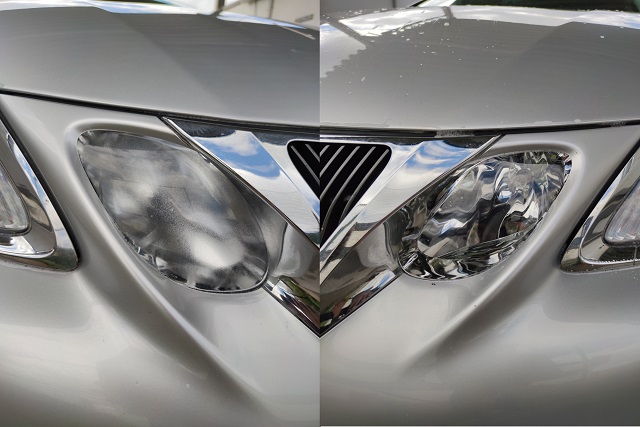
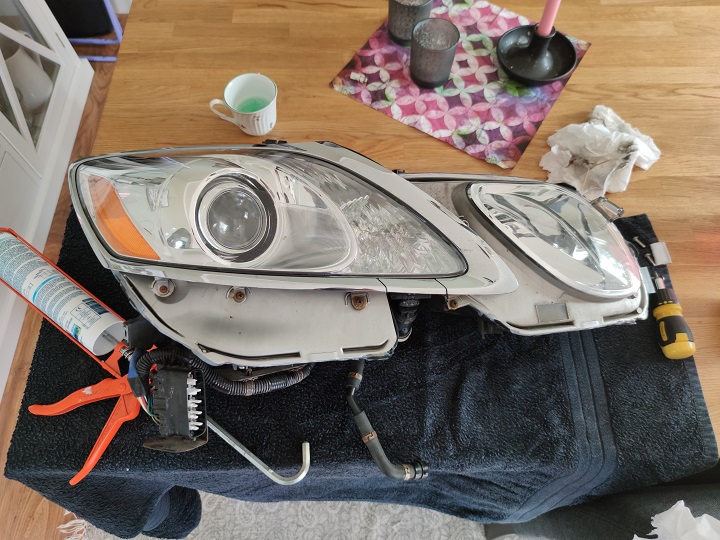
Picture below: To the left is the affected headlight of headlight condensation, to the right is the unaffected one.
Solution 1
Remove the headlight and fix defective seals
Step 1:
Remove the affected headlight, on a 2006-2011 GS300 this is done by removing three screws. See exploded view below

However, to reach these three bolts the front bumper will need to be (partly) removed. This might look hard - but is in reality quite easy. A rough description is as follows:
- Remove engine plastic covers, disconnect battery
- Remove 10mm screws under the car keeping the bumper in place
- Remove 7 10mm screws on top of the bumper, 3 by each headlight and one by the Lexus logo
- Remove plastic clips and screws by each wheel liner, so a hidden screw holding the bumper in place can be accessed
- Gently slide the bumper out - there are "tabs" close the upper fender holding it in place so make sure it can slide out from these
- Disconnect the washer, and connector for main harness connected to the headlight(s)
- Remove the aforementioned 3 screws holding each headlight in place

Step 2:
Take the affected headlight inside, remove all the bulbs and then let it sit overnight to ensure no moisture is left before getting to work at it.
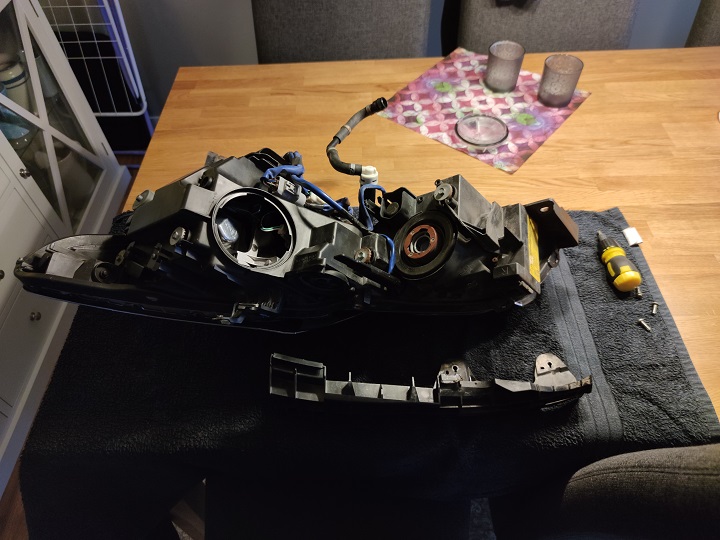
Step 3:
Inspect for damages and potential sources of leakage in the headlight seal. Add silicone to the original seal.
Step 4:
Done! Assembly is the reverse of disassembly :) Take note when reinstalling the main harness connector - it's easy to assume it is properly connected when in fact it's not fully engaged. Don't ask me why I know this...
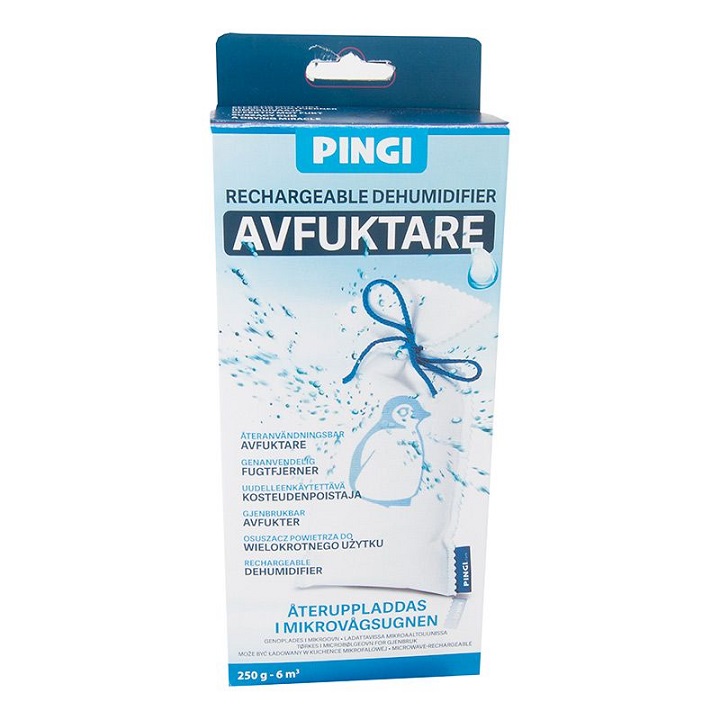
Solution 2
Install a dehumidifer inside the headlight
This is a very temporary solution, however quite effective for small increments of time.
Simply buy a rechargeable dehumidifier and place it inside the headlight assembly (ensuring there is room for one). After some time (typically a couple of weeks) the dehumidifier will need to be recharged to work effectively again.
Solution 3
Create new ventilation for the headlight
This is arguably also a temporary solution, since it does not solve the underlying issue regarding ventilation in the headlight. It might work though, and is very cost-effective if that is the case.
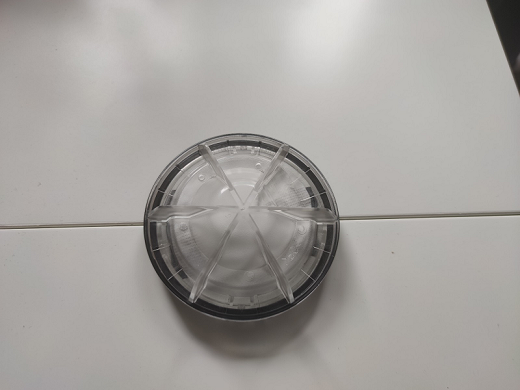
For me I tried to drill five small holes in the inspection cover located at the back of the headlight.
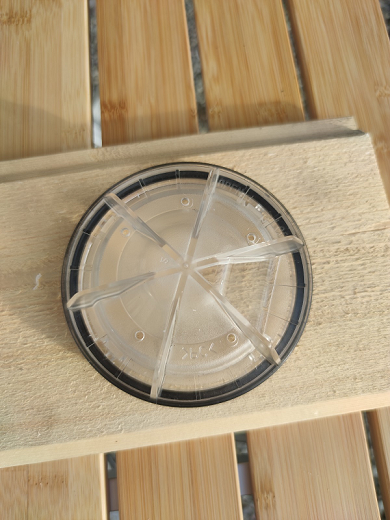
I then installed a dust filter behind the cover to prevent small debris from entering the headlight.
In my case, this did not fully solve the condensation issues. However, it made the problem less intense.
Solution 4
Buy a new headlight
If all your attempts of fixing the issue is to no avail, purchasing a new headlight might be the final option.